
Published by Paradise Signs & Graphics | Serving Titusville, Brevard County & the Space Coast
Most business owners come to a signage project knowing what they want but not knowing how to get there. They have a sense of what they are looking for, maybe a logo, a color, a general direction, but the steps between that starting point and a finished sign on their building are mostly a mystery.
That uncertainty makes people hesitant. It also leads to poor decisions, choosing a vendor based on price alone, skipping steps that matter, or ending up with a sign that was not quite what they pictured because nobody walked them through the process clearly.
This post is a straightforward walkthrough of what a professional commercial signage project actually looks like from start to finish, what happens at each stage, and what you should expect from a signage partner who is doing the job right.
Step 1: The Discovery Conversation
Every good signage project starts with a conversation, not a quote. Before any design work begins, a signage partner worth working with will want to understand your business, your brand, your location, and what the sign needs to accomplish.
This is not a sales call dressed up as a consultation. It is genuinely useful. The questions asked at this stage, about your customer base, your competition, the physical environment of your building, your brand guidelines if you have them, and your goals for the sign, directly shape every decision that follows.
What to bring to this conversation:
- Any existing brand assets, including your logo files, brand colors, and fonts if you have them. Vector files are ideal. If you only have a logo saved as a small JPEG, say so upfront.
- Photos of your building, particularly the surfaces where signage will be installed and the surrounding environment. Knowing what is across the street, what the sightlines look like, and what neighboring businesses look like all informs the design.
- A clear sense of what you want the sign to accomplish. Visibility from the road, brand presence at the entrance, wayfinding inside the space, or some combination of these are all different objectives that lead to different solutions.
- A realistic sense of your budget range. You do not need an exact number, but a general range helps a good signage partner recommend options that make sense for your situation rather than designing to a number you will not actually spend.
A signage partner who jumps straight to pricing without asking any of these questions is not thinking about your project. They are thinking about the transaction.
Step 2: The Site Survey
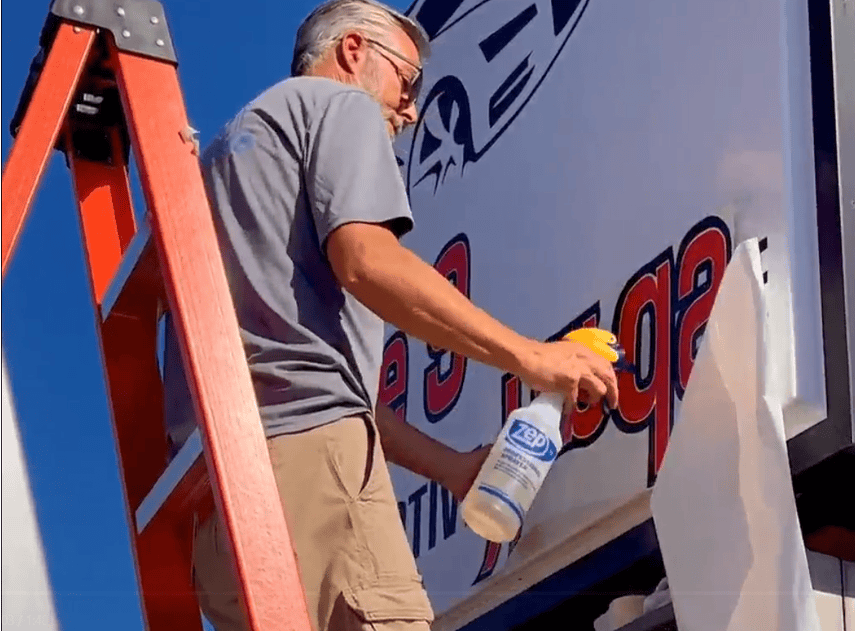
Before design work starts in earnest, a professional signage company will conduct a site survey. This means someone physically visits your location to measure the surfaces where signs will be installed, assess the mounting conditions, evaluate visibility from key vantage points, check for any structural or electrical considerations relevant to illuminated signs, and document anything that might affect the design or installation.
For businesses in Titusville and across Brevard County, this step also includes a preliminary check on local signage codes and permit requirements for your specific address. Different municipalities have different rules about sign dimensions, setbacks, illumination, and placement, and knowing these constraints before the design process begins prevents costly revisions later.
Do not skip this step and do not work with a signage company that skips it. A sign designed without accurate measurements and site information will have problems at installation, sometimes serious ones.
Step 3: Design, Review, and Approval
Once the discovery conversation and site survey are complete, the design process begins. A professional signage designer works from your brand assets, the site measurements, the visibility requirements identified during the survey, and the objectives established in the initial conversation to develop design concepts for your review.
What you should expect to receive at this stage:
- Rendered design concepts that show your sign in context, ideally as a realistic visualization of how it will look on your actual building, not just an isolated graphic.
- At least one round of revisions to address feedback. Good signage partners build revision cycles into the process because getting the design right before fabrication begins is significantly less expensive than making changes after the fact.
- Clear communication about what is and is not possible within your budget and the physical constraints of the installation site.
Your job in this stage is to review designs carefully and give specific, actionable feedback. Vague responses like it does not feel right are harder to work with than specific ones like the font feels too light for the building material or I want the logo to be larger relative to the name. The more precise your feedback, the faster the design lands where it needs to be.
Final approval of the design is the point of no return before fabrication begins. Review the approved design one more time before signing off, checking spelling, spacing, colors, and proportions. What you approve is what gets built.
Step 4: Permitting
Most exterior commercial signage in Florida requires a permit before installation can proceed. This is not optional and skipping it is not a strategy. Unpermitted signs can be cited, forced to be removed, or create complications when you sell or lease your building.
A professional signage company handles the permit application on your behalf as part of the project. This includes preparing the required documentation, submitting to the appropriate municipal or county office, and managing the process through approval. In Brevard County, permit timelines vary depending on the type of sign, the municipality, and current department workload.
What this means for your timeline: permitting adds time to the project, sometimes a few weeks, sometimes longer. This is a normal part of the process and should be factored into your schedule from the beginning. If a signage company promises a turnaround that does not account for permitting, ask why.
The International Sign Association provides a useful overview of commercial signage permitting requirements across different jurisdictions: International Sign Association: Permitting Resources
Step 5: Fabrication
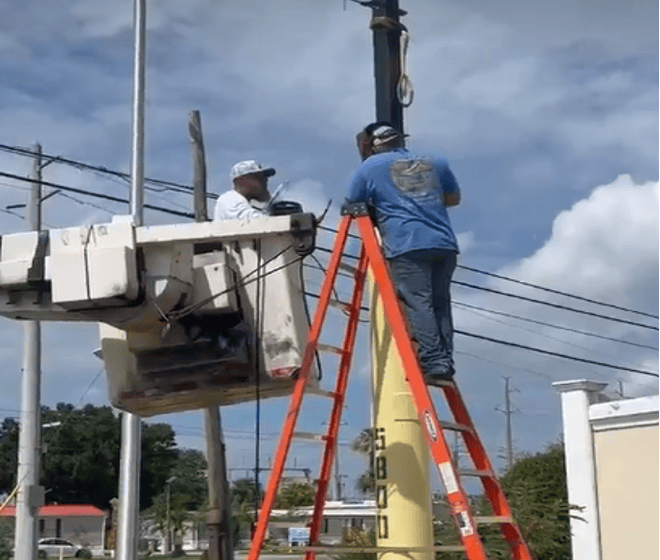
Once the permit is approved and the design is finalized, fabrication begins. This is the stage where the sign actually gets built, whether that means cutting dimensional letters from aluminum, printing and laminating vinyl graphics, wiring and assembling an illuminated cabinet, or fabricating a custom dimensional element.
Fabrication timelines vary significantly depending on the type of sign, the materials involved, and current production schedules. Simple vinyl graphics can be produced in days. Fabricated dimensional metal letters or custom illuminated signs can take several weeks. Your signage partner should give you a realistic production timeline upfront and communicate proactively if anything changes.
This is also the stage where material quality decisions made earlier in the process become concrete. The difference between a sign fabricated with quality materials and one built to hit a low price point is often not visible in a design rendering. It becomes visible in the finished product and increasingly visible as the sign ages in Florida’s climate.
Step 6: Installation
Professional sign installation is more involved than most business owners picture.
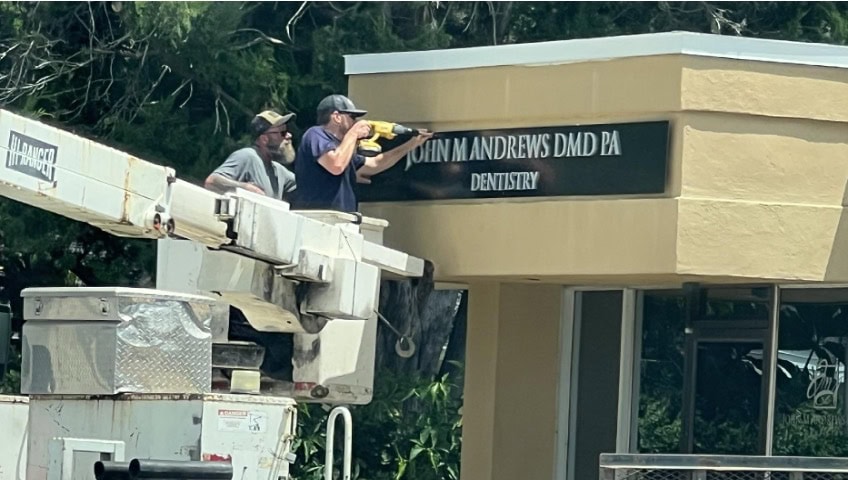
Depending on the sign type, it may require specialized lift equipment to reach mounting heights, electrical work for illuminated signs, structural anchoring into building materials that vary widely in composition, and precise alignment against measurements taken during the site survey.
What to know about the installation day:
- Coordinate access to your building and any areas that need to be clear for equipment. A professional installation crew will communicate what they need in advance.
- Exterior sign installations are weather-dependent. Wind, rain, and extreme heat all affect when and how installation can safely proceed. Florida summer afternoons in particular can affect scheduling.
- Plan for the installation to take longer than you expect. Unexpected conditions at the mounting surface, adjustment of fit, and finishing work all add time. A sign that looks like a two-hour installation from the outside often takes longer in practice.
Walk the finished installation with the crew before they leave. Check that everything aligns with the approved design, that lighting functions correctly if applicable, and that the mounting surface has been left clean and undamaged.
After Installation: What to Keep in Mind
A well-fabricated and properly installed sign is a long-term investment, and like any investment it benefits from reasonable care. For exterior signage in Florida, this means periodic cleaning to remove salt air residue, mildew, and environmental buildup that can dull the finish over time, and occasional inspections of mounting hardware and any electrical components in illuminated signs.
Most reputable signage companies offer some form of warranty on both fabrication and installation. Understand what that warranty covers and what falls outside it before the project closes.
Finally, keep a copy of your permit documentation. It confirms that your sign was legally installed and may be relevant if you ever need to make changes, additions, or if a code enforcement issue arises.
The Short Version
A professional signage project moves through six stages: discovery, site survey, design and approval, permitting, fabrication, and installation. Each one builds on the last, and skipping any of them creates problems that tend to surface at the worst possible time.
The businesses that end up with signage they are genuinely proud of are the ones who approached the project as a collaboration, brought their brand assets and their goals to the first conversation, gave clear feedback during the design process, and worked with a partner who handled the logistics so they did not have to.
That is exactly the kind of process we run at Paradise Signs & Graphics, and it is why our clients rarely have surprises on installation day.
Start the Conversation with a Complimentary Consultation
Paradise Signs & Graphics guides businesses across Titusville, Brevard County, and the Space Coast through every stage of the signage process, from the first design conversation to the day the sign goes up. If you are thinking about a signage project and want to understand what it actually involves before you commit, start with a complimentary consultation.
We will walk you through the process, answer your questions honestly, and help you figure out what the right path forward looks like for your business.
Contact Paradise Signs & Graphics Today: Call: 321-567-5253 Email: wecare@paradisesignsandgraphics.com Website: paradisesignsandgraphics.com Visit Us: 3650 Bobbi Ln, Suite 121-123, Titusville, FL 32780
Connect with us on social media: Facebook | Instagram | LinkedIn